— Contents 11 sections
- 01 Does Binance have a trading bot?
- 02 What you need before you start
- 03 Understanding the Binance API
- 04 Creating your API key, safely
- 05 Practice on the testnet first
- 06 Placing your first order with Python
- 07 From script to bot: running it unattended
- 08 Rate limits and common errors
- 09 Security and risk checklist
- 10 Conclusion and next steps
- 11 Frequently asked questions
There are two common ways to automate trading on Binance: the bots built into the exchange, and a bot you write yourself using the API. This guide covers the second kind, end to end: how the Binance API works, how to create an API key without putting your funds at risk, how to practice on the free testnet, and how to place your first automated order. No prior automation experience is assumed. Trading strategy — deciding when to buy and sell — is not covered; the goal of this guide is working infrastructure.
Does Binance have a trading bot?

Yes. Binance ships no-code trading bots inside the platform — no API key and no programming required. You will find them under [Trade] → [Trading Bots] on the web. The spot lineup includes Spot Grid (automated buy-low/sell-high orders inside a price range), Spot DCA (spreading buys over time to average your entry), a Rebalancing Bot (holding target allocations across a multi-coin portfolio), and Spot Algo Orders for splitting large orders. On the futures side there are leveraged variants (Futures Grid, TWAP and others) — those amplify both profit and risk, and are not a beginner’s first step.
Before writing any code, compare the three available routes:
| Route | Effort | Flexibility |
|---|---|---|
| Built-in bots (Grid, DCA, Rebalancing) | Lowest — configure in the app | Fixed strategy templates |
| Third-party bot platforms | Low — configure on the vendor’s site | Depends on the vendor |
| Your own bot via the API | Highest — you write and run the code | Unlimited |
(The hosted route also means handing your API key to another company — more on what that implies in the security section.)
If a grid or DCA template already covers what you want to do, the built-in bots are a reasonable choice. The rest of this guide covers the third route: building your own bot with the API. It gives you full control over the logic, and your API key stays with you.
What you need before you start
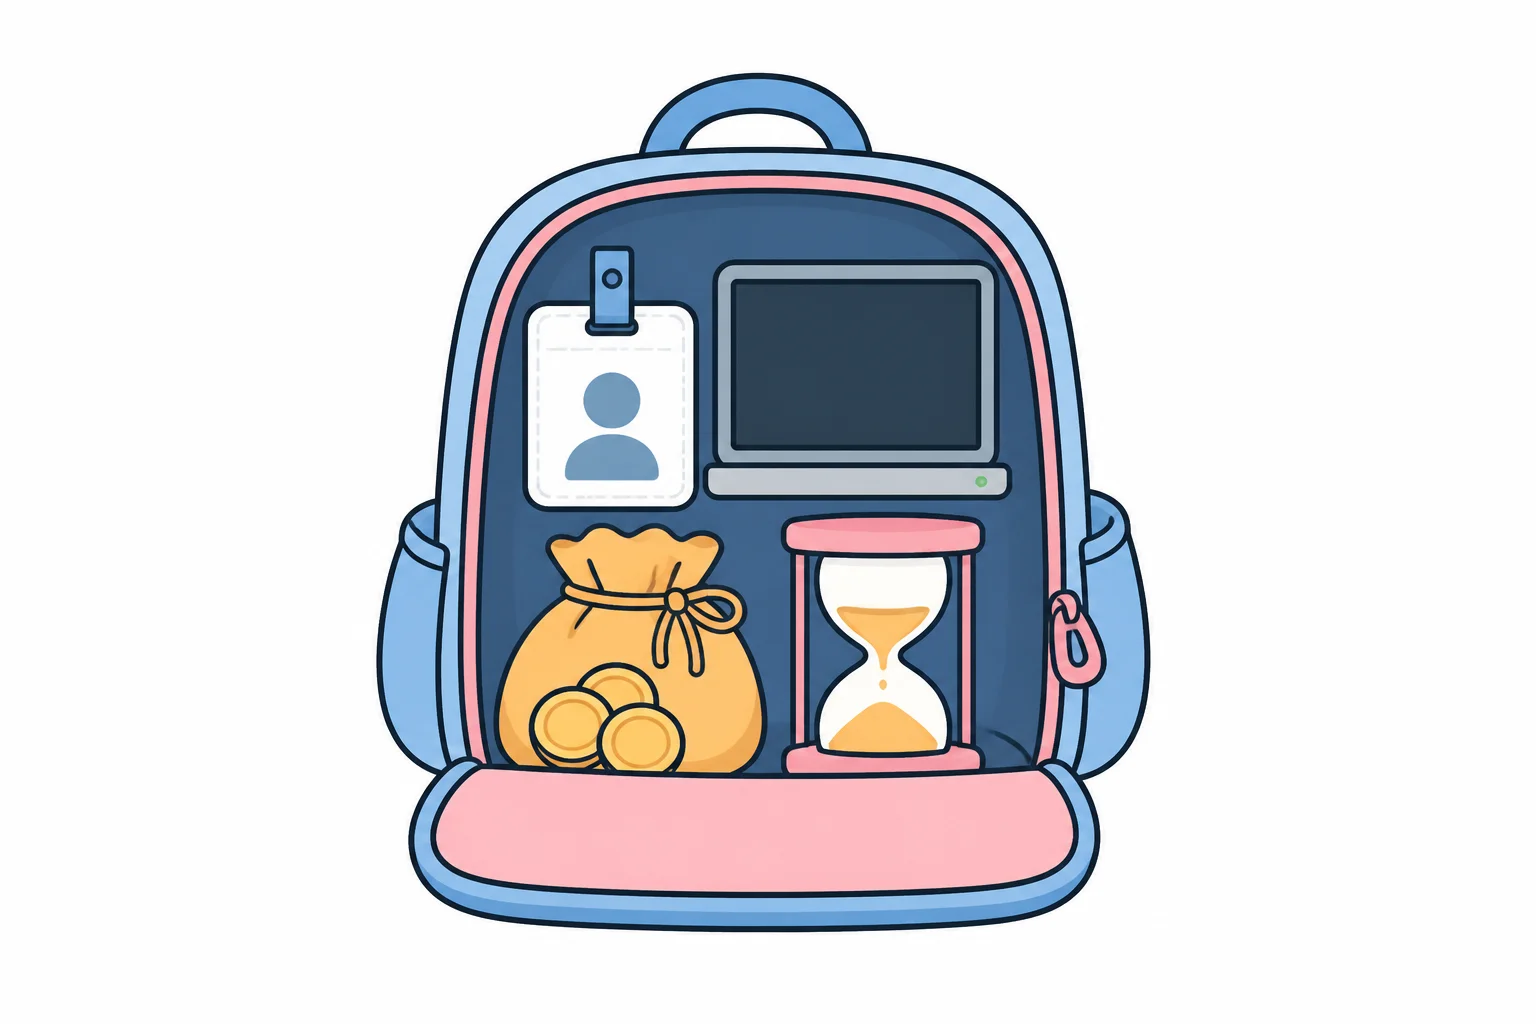
- A Binance account with identity verification (KYC) completed. API keys can only be created on a verified account with two-factor authentication enabled — and the account must have received at least one deposit of any amount before it can create keys. If you don’t have an account yet, our Binance review walks through registration step by step.
- Python 3.10 or later on any machine that can stay online while your bot runs — the snippets here run on older versions too, but 3.10 is the floor for Binance’s official SDK if you move to it later.
- A small amount of capital you can afford to lose. For the exercises in this guide you don’t even need that — the testnet uses virtual funds — but your first live order should be small. On BTC/USDT the minimum order value is about 5 USDT (more on that below).
- An hour or two. Everything in this guide can be completed in one sitting.
This guide works with spot trading throughout. Futures automation exists and the API supports it, but leverage plus unattended code is a combination to grow into, not start with.
Understanding the Binance API
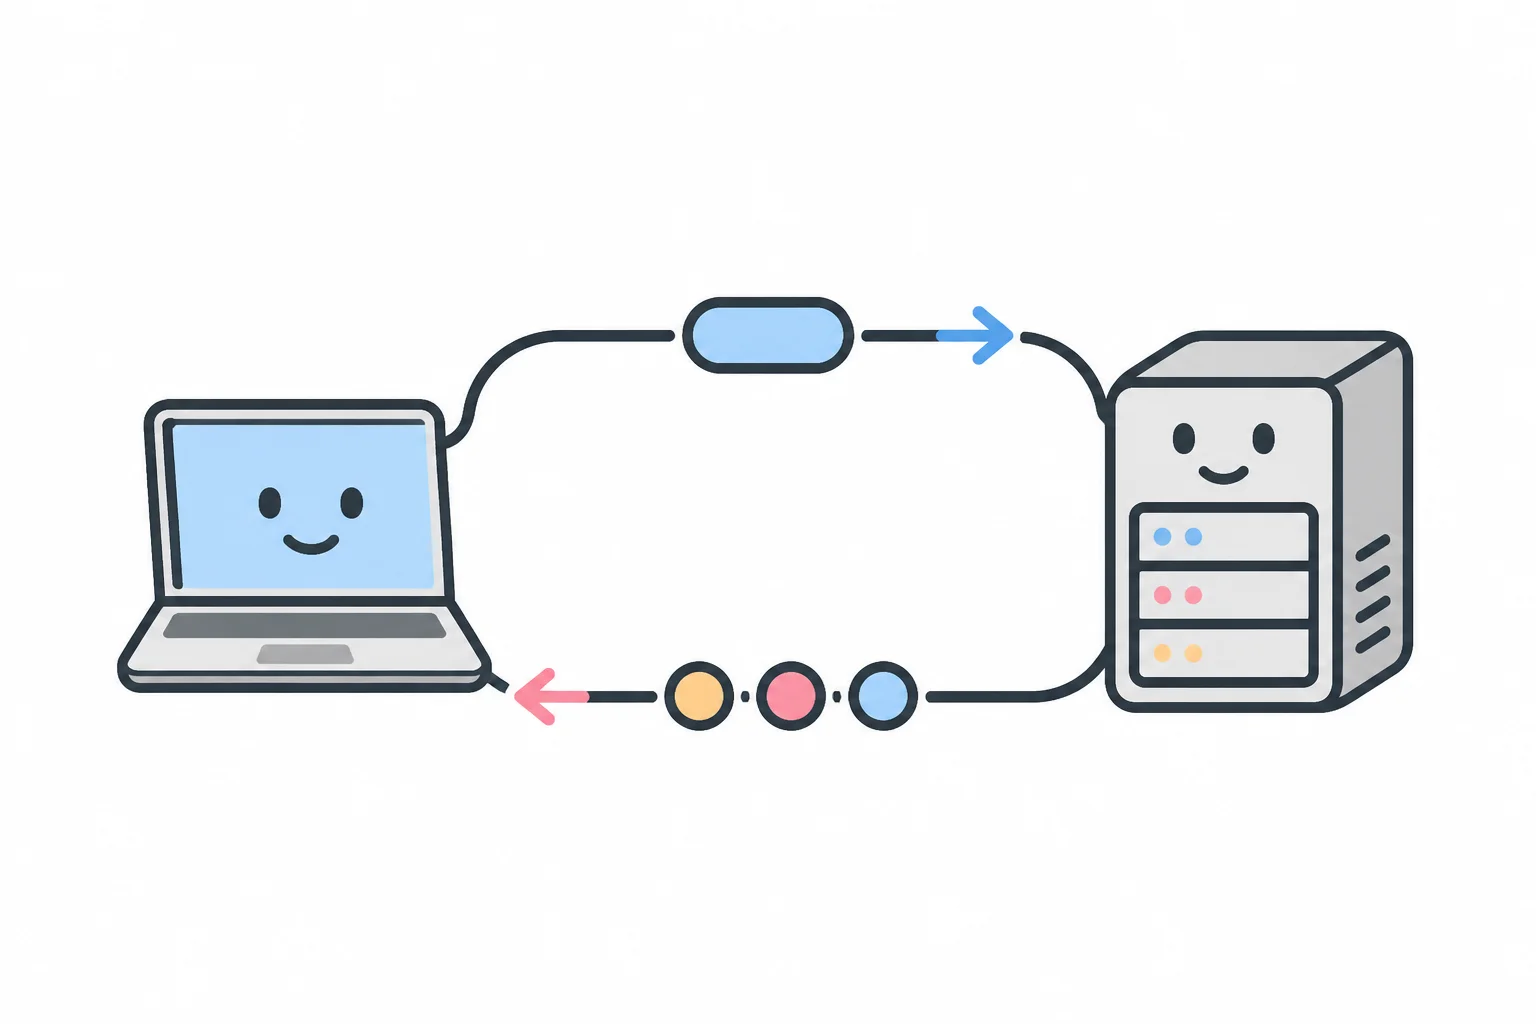
An API (application programming interface) is simply a way for your program to talk to Binance’s servers directly — the same actions you perform in the app (check a price, place an order, read your balance), but issued by code as HTTPS requests and answered in machine-readable JSON.
Binance exposes several interfaces. Two matter for a first bot:
- REST API (
https://api.binance.com) — classic request/response. You send one HTTPS request per action. This is where beginners start. - WebSocket market streams (
wss://stream.binance.com:9443) — a persistent connection over which Binance pushes live prices to you. Binance’s own error messages tell high-frequency pollers to “use WebSocket Streams for live updates to avoid polling the API,” so plan to adopt streams as your bot matures.
Two useful facts before you write a line of code:
Public market data needs no API key at all. Binance runs a dedicated unauthenticated endpoint for market data. This works from any terminal, with no account:
curl -s "https://data-api.binance.vision/api/v3/ticker/price?symbol=BTCUSDT"There is no separate charge for API access. Orders placed through the API are charged the same spot trading fees as orders placed in the app — one fee schedule covers both: 0.100% maker / 0.100% taker for regular users, with 25% off when paying fees in BNB. (A maker order rests on the order book; a taker order fills against it.)
Bookmark the official documentation. This guide follows it, and you will need it as a reference once your bot grows beyond the basics.
Creating your API key, safely
This is the most important step of the setup. An API key is a credential that can trade your funds, so set its permissions carefully before writing any bot code. (If you don’t have a Binance account yet, you can skip ahead to the testnet section — it needs only a GitHub login — and come back here when you’re ready to trade live.)
On the web, go to Profile icon → [Account] → [API Management] → [Create API]. You’ll confirm with your 2FA devices.
Choose the key type deliberately. Binance supports three: Ed25519, HMAC, and RSA. Most tutorials you’ll find teach HMAC (an API key plus a secret key) — but Binance now marks HMAC keys as deprecated and recommends Ed25519, which it describes as providing the best performance and security of the supported types. For Ed25519 you generate a keypair yourself (Binance publishes an official generator tool), register the public key, and sign requests with the private key.
The read-only trap. This is the rule that trips up most beginners on their
first live order: since 2023-01-30, a system-generated (HMAC) key with unrestricted IP
access can hold [Enable Reading] permission only. If you want that key to
trade, you must restrict it to trusted IP addresses. So to place live orders
you either (a) IP-restrict your HMAC key to your machine’s address, or (b) use
a self-generated Ed25519 key. If this is not set up, order requests fail with
error -2015: Invalid API-key, IP, or permissions for action, even though
trading appears to be enabled on the key. You may also read that trading
permission expires after 90 days on keys without IP restrictions — that rule
was withdrawn on 2023-10-24 and no longer applies.
Set permissions to the minimum. The toggles that matter:
- [Enable Reading] — on. Your bot needs to see balances and orders.
- [Enable Spot & Margin Trading] — on, once you’re ready for live orders.
- [Enable Withdrawals] — never, for a trading bot. A bot has no reason to move funds out. Binance additionally makes IP restriction mandatory before this permission can even be enabled — but the correct setting for a trading bot is simply off. With withdrawals off, a leaked key can place bad trades inside your account, which is painful; it cannot drain your wallet to an attacker’s address.
Handle the secret like a password. The secret key is shown once, at creation, and masked forever after — if you lose it, you delete the key and create a new one. Never hardcode it in your script: keep it in an environment variable or a config file excluded from version control. Binance’s own security guidance adds: rotate keys regularly, enable only necessary permissions, and if you ever suspect compromise, delete the key immediately and create a new one. The full key and permission detail — every key type, the permission self-audit endpoint, and what each operation requires — is in our Binance API guide.
Practice on the testnet first

You can build and run your entire first bot without risking any funds. Binance operates two official practice environments, and they serve different purposes.
Spot Test Network (testnet.binance.vision) — the developer sandbox. You
log in with a GitHub account; no Binance account, no KYC, and no deposit
are required. Click [Generate HMAC_SHA256 Key] (or register an Ed25519/RSA
public key) and you get testnet credentials plus an automatic balance of
virtual assets. Your code is identical to production code except for the base
URL:
Production REST:  https://api.binance.com/api
Testnet REST:     https://testnet.binance.vision/api
(Binance’s docs list the production host as https://api.binance.com with
endpoint paths starting /api/v3/ — the BASE values above include the /api
part so they drop straight into the snippets below.)
Two things to know: the test network resets roughly once a month without notice — balances and orders are wiped, but your API keys survive resets, so your bot config keeps working. And rate limits and symbol filters on the testnet are generally the same as production, so the practice conditions are close to the real environment.
Demo Trading (demo.binance.com) — a newer, in-account demo mode covering
spot and futures with a virtual balance and its own API keys. It’s tied to
your real Binance login. Use the Spot Test Network if you have no account or
want a clean sandbox; use Demo Trading when you want practice attached to your
real account’s interface. (Historical note: the old futures testnet at
testnet.binancefuture.com is offline for an upgrade and currently redirects
to Demo Trading — ignore tutorials that send you there.)
Everything in the next section runs on the Spot Test Network.
Placing your first order with Python
The snippets below use plain Python with the requests library, so you can see
exactly what any SDK (software development kit) does under the hood. Install it
first:
pip install requestsWhen you want a higher-level interface later, Binance’s official Python SDK is
modular — one package per product; the spot package is pip install binance-sdk-spot. Two things to know about the library landscape: older
tutorials say pip install binance-connector, which is the previous generation
of the official SDK. And python-binance — more popular on GitHub than the
official connector — is a community project, not an official Binance one:
widely used, but unsupported by Binance.
Reading a price needs no authentication:
import requests

BASE = "https://testnet.binance.vision/api"
price = requests.get(f"{BASE}/v3/ticker/price", params={"symbol": "BTCUSDT"}).json()
print(price)   # {'symbol': 'BTCUSDT', 'price': '...'}
Anything touching your account is a signed request: you add a timestamp,
then an HMAC-SHA256 signature of the query string, computed with your secret
key. (The Spot Test Network hands out an HMAC key by default, so these snippets
sign with HMAC-SHA256; for a production Ed25519 key the request layout is the
same — only the signing step changes.)
import hmac, hashlib, time, os
import requests

BASE = "https://testnet.binance.vision/api"
KEY = os.environ["BINANCE_TESTNET_KEY"]
SECRET = os.environ["BINANCE_TESTNET_SECRET"]

def signed_get(path, **params):
    params["timestamp"] = int(time.time() * 1000)
    query = "&".join(f"{k}={v}" for k, v in params.items())
    sig = hmac.new(SECRET.encode(), query.encode(), hashlib.sha256).hexdigest()
    return requests.get(f"{BASE}{path}?{query}&signature={sig}",
                        headers={"X-MBX-APIKEY": KEY}).json()

print(signed_get("/v3/account")["balances"][:5])
Why first orders get rejected: symbol filters. Before an order reaches the
matching engine, Binance validates it against per-symbol rules published at
GET /api/v3/exchangeInfo. The three a beginner hits immediately, with
BTC/USDT’s values as retrieved on 2026-08-15:
| Filter | Rule on BTC/USDT | What it rejects |
|---|---|---|
NOTIONAL | order value ≥ 5 USDT | your cautious 1 USDT test order |
LOT_SIZE | quantity in steps of 0.00001 BTC | the unrounded float you got from usdt_amount / price |
PRICE_FILTER | price in steps of 0.01 USDT | limit prices with more than 2 decimals |
These numbers change over time — query exchangeInfo for current values
rather than trusting any article, including this one. Round your quantity to
the symbol’s stepSize (use Decimal, not binary floats) and keep the order
value above minNotional.
Binance also provides a rehearsal endpoint: POST /api/v3/order/test validates
an order against every filter without executing it — the ideal way to debug
a rejection before it costs anything.
Then the actual order endpoint. Check the current price first and pick a quantity whose value clears the 5 USDT minimum — 0.0002 BTC was about 12 USDT at the time of writing:
# continuing in the same file as the snippet above
def signed_post(path, **params):
    params["timestamp"] = int(time.time() * 1000)
    query = "&".join(f"{k}={v}" for k, v in params.items())
    sig = hmac.new(SECRET.encode(), query.encode(), hashlib.sha256).hexdigest()
    return requests.post(f"{BASE}{path}?{query}&signature={sig}",
                         headers={"X-MBX-APIKEY": KEY}).json()

order = signed_post("/v3/order", symbol="BTCUSDT", side="BUY",
                    type="MARKET", quantity="0.0002")
print(order)
If the response contains an orderId and a status, the order was accepted.
This is the same request a production bot sends — only the base URL and the
virtual funds differ. Copy-paste code for every other common operation — limit
orders, cancels, balances, deposits, withdrawals, transfers and WebSocket
streams — is collected in our Binance API guide.
From script to bot: running it unattended
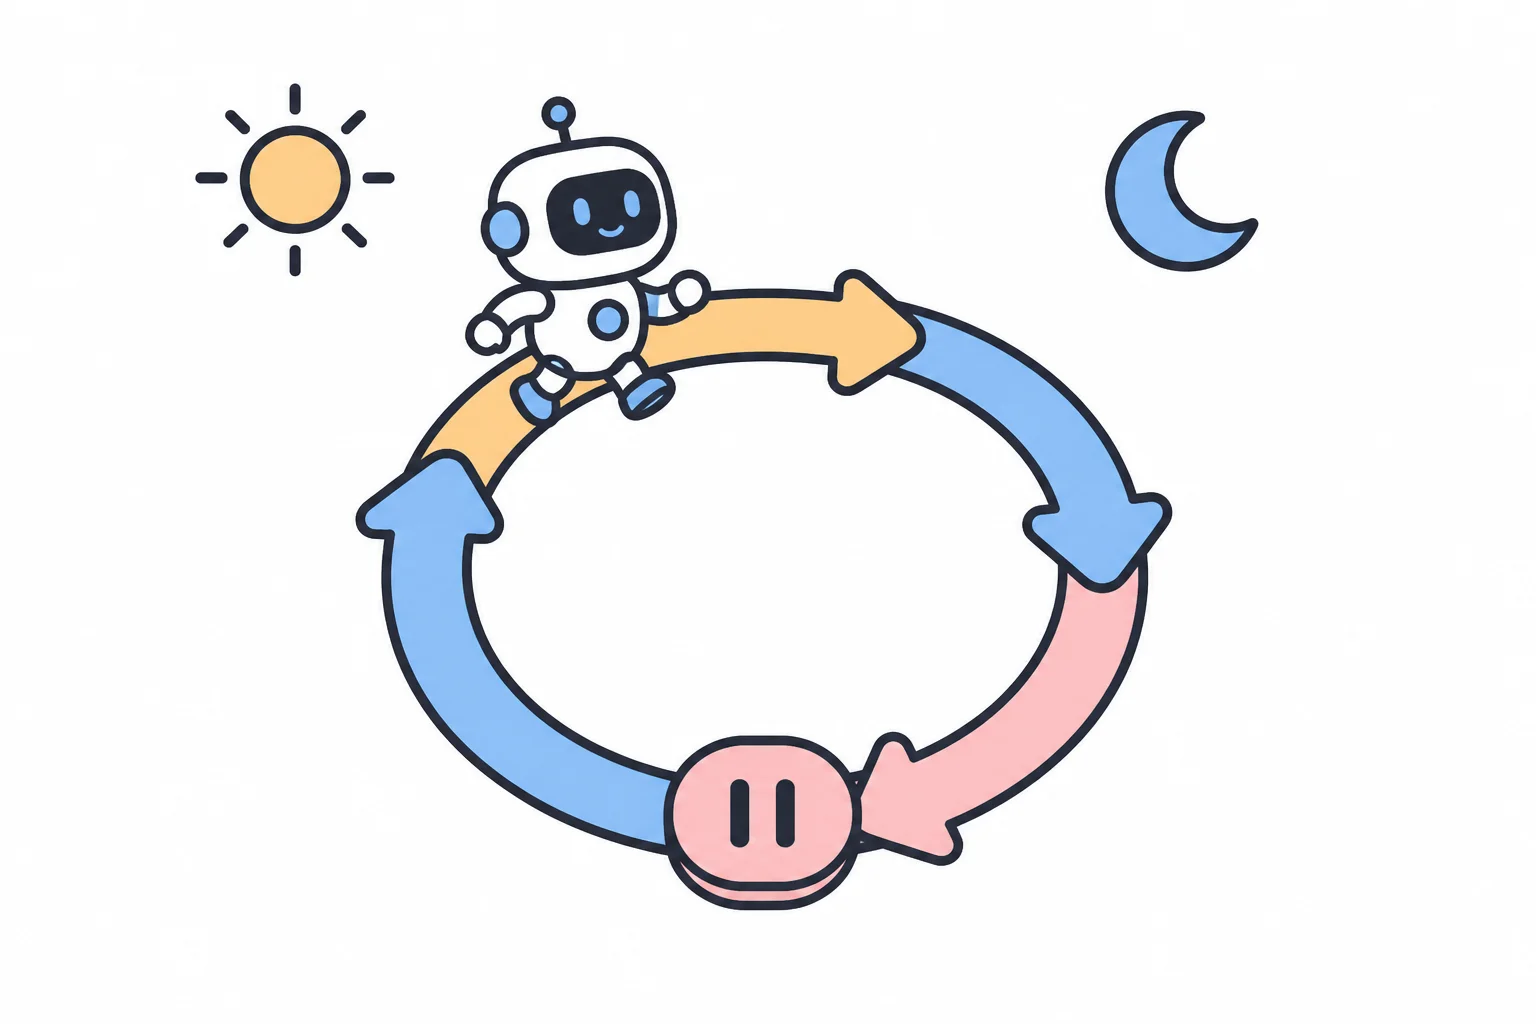
A script becomes a bot when it runs in a loop unattended. Four mechanics keep an unattended process running reliably:
- The loop. Fetch data → decide → (maybe) order → sleep → repeat. Start with a generous interval; a bot that acts once a minute is far easier to debug and stays far away from rate limits.
- Expect disconnection. A WebSocket connection to Binance is valid for a maximum of 24 hours — you will be disconnected, by design. The server also pings every 20 seconds and drops you if you don’t pong back within a minute. This is the classic reason a beginner’s bot “mysteriously stops working after a day.” Reconnect logic is mandatory, not optional.
- The dangerous retry. If a request times out (
-1007) or returns a 5XX error, the execution status is unknown — Binance explicitly warns the order may still have gone through. Blind retries can double-buy. On any ambiguous failure: query your open orders and recent trades first, then decide. - Log everything, and give yourself a kill switch. Write every decision and every response to a log file, and keep a manual way to stop the bot and cancel open orders immediately.
The trading logic itself — when to buy and when to sell — is out of scope for this guide. Get the mechanics above working on the testnet first — infrastructure failures cost money regardless of how good the strategy is, so this layer deserves to be solid before any strategy complexity is added.
Rate limits and common errors
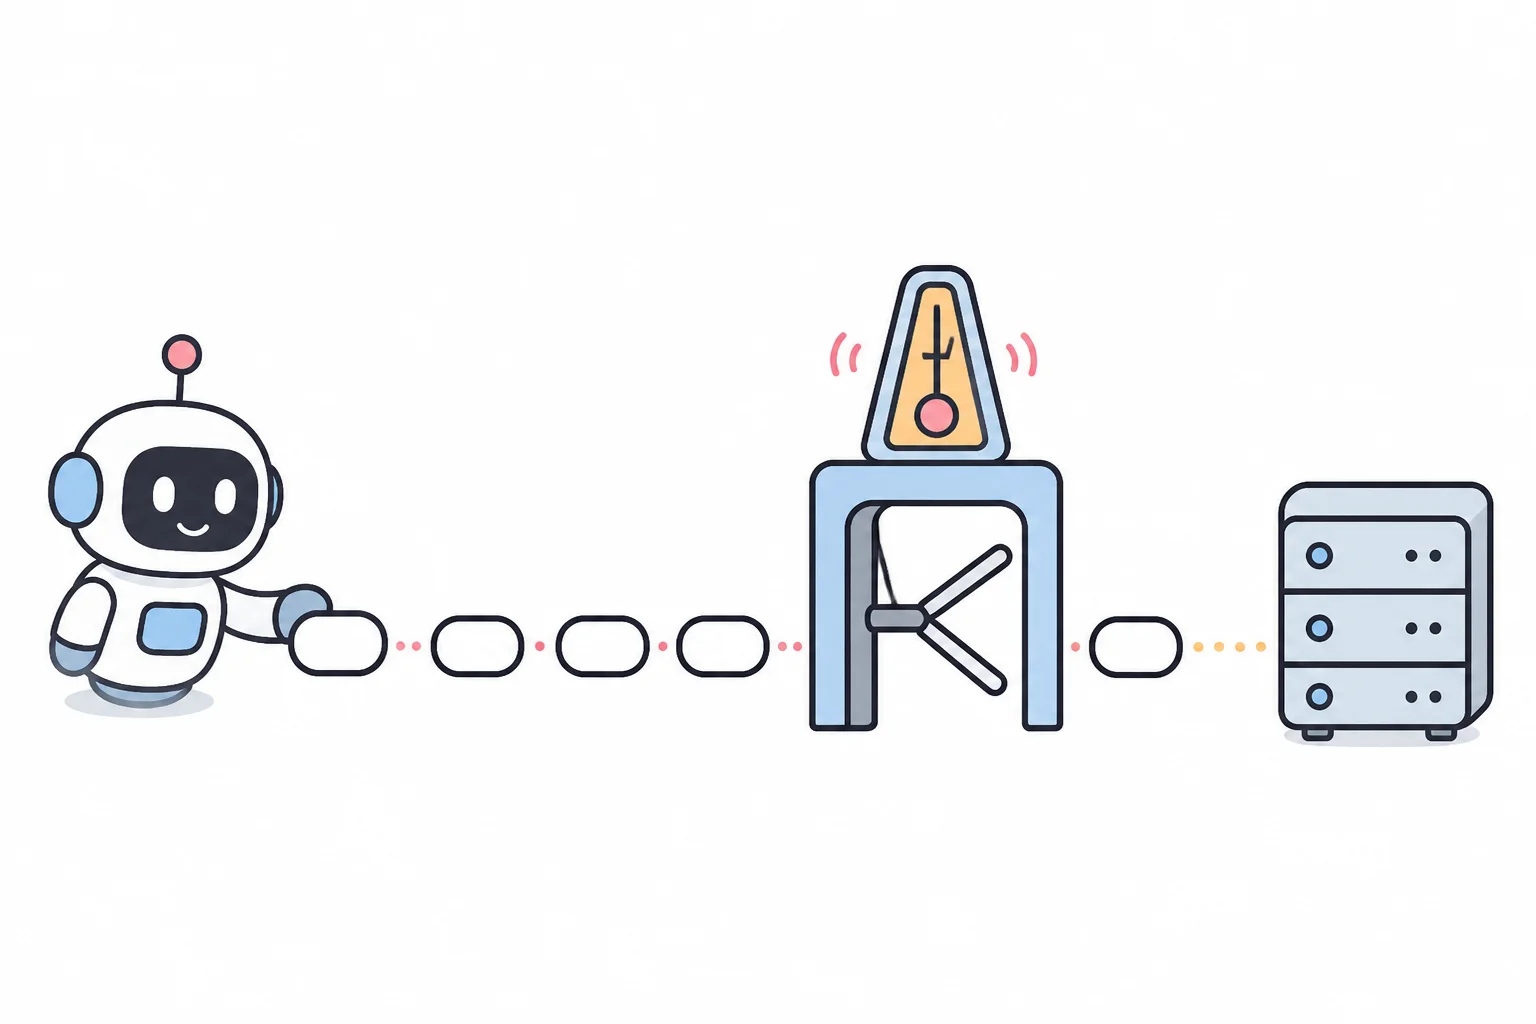
Binance limits API usage per IP using a request-weight system: every
endpoint costs a weight, and the current spot budget is 6,000 request weight
per minute (you will still find “1,200” in older articles — that value is
outdated). Order placement is additionally capped per account at 100 orders per
10 seconds and 200,000 per day (the counts track unfilled orders — orders that
fill promptly free the budget). Every response tells you where you stand via
the X-MBX-USED-WEIGHT-1M header — a single exchangeInfo call, for instance,
costs 20 of your 6,000.
If you exceed the limits you get HTTP 429; keep sending requests after a 429
and you get 418 — an automatic IP ban that scales from 2 minutes to 3 days for repeat
offenders. Your bot should read the Retry-After header and wait accordingly.
The errors every beginner meets, in rough order of appearance:
| Code | Meaning | Usual cause & fix |
|---|---|---|
-1021 | Timestamp outside recvWindow (the time window Binance accepts a request in — 5 seconds by default) | your system clock drifts — sync it automatically with NTP, or offset from GET /api/v3/time |
-2015 | Invalid API-key, IP, or permissions | the read-only trap: unrestricted-IP HMAC keys can’t trade; restrict the IP or switch to Ed25519 |
-1013 / -2010 | Filter failure / order rejected | quantity or price violates LOT_SIZE / NOTIONAL / PRICE_FILTER; or simply “insufficient balance” |
-1003 | Too much request weight | you’re polling in a tight loop — slow down or move to WebSocket streams |
-1022 | Invalid signature | the string you signed isn’t the string you sent — check parameter order and encoding |
-1121 | Invalid symbol | REST wants BTCUSDT, not btcusdt or BTC/USDT (confusingly, WebSocket stream names are lowercase) |
One more constraint worth knowing before you rent a server: Binance does not serve every jurisdiction, and an API key inherits the same eligibility as the account behind it — code running from a restricted region hits the same wall the app would.
Security and risk checklist

Two kinds of risk apply here, and they are different. Market risk comes first: a bot that works perfectly can still lose money, because the strategy itself can be wrong — and automation executes losses at the same speed as gains, with no pause for judgment while it runs unattended. Operational risk — bugs, leaked keys, outages — is what the checklist below addresses. Passing the checklist protects you from the second kind only.
Run down this list before your first live order:
- Withdrawal permission is off on the bot’s key
- The key is IP-restricted to the machine that runs the bot (or is an Ed25519 key)
- The secret lives in an environment variable / untracked config — not in the code, not in a repository
- This key is never pasted into a third-party website or service
- The bot logs every action, and you can stop it and cancel all orders in seconds
- The account holds only what the bot is allowed to lose
- You have decided in advance how much loss makes you stop the bot
If you do use a hosted bot platform instead of your own code, the same rules apply to the key you give it: withdrawals off and IP-restricted to the vendor — and you are trusting that company with trade authority over your account.
Binance’s own SDK disclaimer states the underlying principle directly: “You are solely responsible for any orders or transactions executed through the Binance Platform using this SDK.” A bug in your code places orders with your real funds, and nothing reviews them before they go out. No bot is profitable by itself. Start on the testnet, keep your first live orders small, and increase size only after the bot has run correctly over time.
Conclusion and next steps
This guide covered the full setup path: the three automation routes on Binance, creating an API key with minimal permissions, practicing on the Spot Test Network, placing an order that passes the symbol filters, and running the script as a loop that handles disconnections and ambiguous failures. This is the infrastructure layer of automated trading — the prerequisite for everything a bot does.
Next steps: run everything in this guide on the testnet today. When you go live, keep the first order small — size it the way the filter section shows, comfortably above the 5 USDT minimum rather than at it. The checklist above clears the operational risks; the market risk is yours to size for. If you still need a Binance account, our Binance review covers registration, fees and features in detail. For working code covering every common API operation beyond this first order, see our Binance API guide.
All API facts verified against official Binance documentation on 2026-08-15.
Rate limits, filters and fee promotions change — always confirm current values
via GET /api/v3/exchangeInfo and the official fee schedule.
Frequently asked questions
Does Binance have a built-in trading bot?
Yes — Spot Grid, Spot DCA, Rebalancing and more, under [Trade] → [Trading Bots], with no coding needed. This guide covers the other route: building your own bot with the API.
Is the Binance API free to use?
There is no separate charge for API access. You pay the same trading fees as manual trading — Binance publishes one fee schedule covering both.
Are trading bots allowed on Binance?
Automated trading is an officially supported activity: Binance publishes the API, official SDKs and sandboxes, and even ships its own bots. Your account and region eligibility rules still apply.
Do I need to verify my identity to use the API?
Yes. API keys can only be created on a KYC-verified account with two-factor authentication enabled, and the account needs at least one deposit. The Spot Test Network is the exception — it needs only a GitHub login.
Are trading bots profitable?
A bot executes a strategy; it does not supply one. Whether it makes money depends entirely on the strategy and how it is operated. Be cautious of any product that claims guaranteed profits.
Can my bot run 24/7, and where should it run?
Yes. Continuous operation is the main reason to run a bot, and any always-on machine works: a home server or a small cloud instance. Remember that the IP restriction on your API key must match wherever the code runs.