— Contents 11 sections
- 01 Does Bybit have a trading bot?
- 02 What you need before you start
- 03 Understanding the Bybit V5 API
- 04 Creating your Bybit API key, safely
- 05 Practice first: Bybit testnet or demo trading?
- 06 Placing your first order with Python
- 07 From script to bot: running it unattended
- 08 Bybit rate limits and common errors
- 09 Security and risk checklist
- 10 Conclusion and next steps
- 11 Frequently asked questions
There are two common ways to automate trading on Bybit: the bots built into the exchange, and a bot you write yourself using the API. This guide covers the second kind, end to end: how the Bybit V5 API works, how to create an API key without putting your funds at risk, how to practice against real prices without real money, and how to place your first automated order. No prior automation experience is assumed. Trading strategy — deciding when to buy and sell — is not covered; the goal of this guide is working infrastructure.
Does Bybit have a trading bot?

Yes. Bybit ships no-code trading bots inside the platform — no API key and no programming required. The lineup on the Trading Bot page includes Spot Grid (automated buy-low/sell-high orders inside a price range), Futures Grid (the same idea on perpetual contracts, with long, short and neutral modes), DCA (buying a fixed amount at regular intervals regardless of price), Futures Martingale and Futures Combo. Note the mechanics of Futures Martingale: it adds to a position as the market moves against it, so exposure grows during a losing streak — understand that fully before considering it. The futures bots also add leverage, which amplifies both profit and risk — not a beginner’s first step.
Before writing any code, compare the three available routes:
| Route | Effort | Flexibility |
|---|---|---|
| Built-in bots (Grid, DCA and others) | Lowest — configure in the app | Fixed strategy templates |
| Third-party bot platforms | Low — configure on the vendor’s site | Depends on the vendor |
| Your own bot via the API | Highest — you write and run the code | Unlimited |
(The hosted route also means handing your API key to another company — more on what that implies in the security section.)
If a grid or DCA template already covers what you want to do, the built-in bots are a reasonable choice. The rest of this guide covers the third route: building your own bot with the API. It gives you full control over the logic, and your API key stays with you.
What you need before you start

- A Bybit account with two-factor authentication (2FA) set up. Creating an API key requires a Google Authenticator code, so 2FA must be enabled first. One rule to plan around: Bybit may restrict API key creation for the first 48 hours after registration. If your account is brand new, spend that window on the testnet — it needs no Bybit account at all, so the cooldown does not apply to it, and practice is the correct first step anyway. If you don’t have an account yet, our Bybit review walks through registration step by step.
- Python 3.10 or later on any machine that can stay online while your bot runs — the snippets here run on older versions too, but 3.10 is the floor for Bybit’s official Python SDK if you move to it later.
- A small amount of capital you can afford to lose. For the exercises in this guide you don’t even need that — demo trading uses simulated funds — but your first live order should be small. Most Bybit spot pairs require an order worth at least 5 USDT (more on that below).
- An hour or two. Everything in this guide can be completed in one sitting.
This guide works with spot trading throughout. Futures automation exists and the API supports it, but leverage plus unattended code is a combination to grow into, not start with.
Understanding the Bybit V5 API
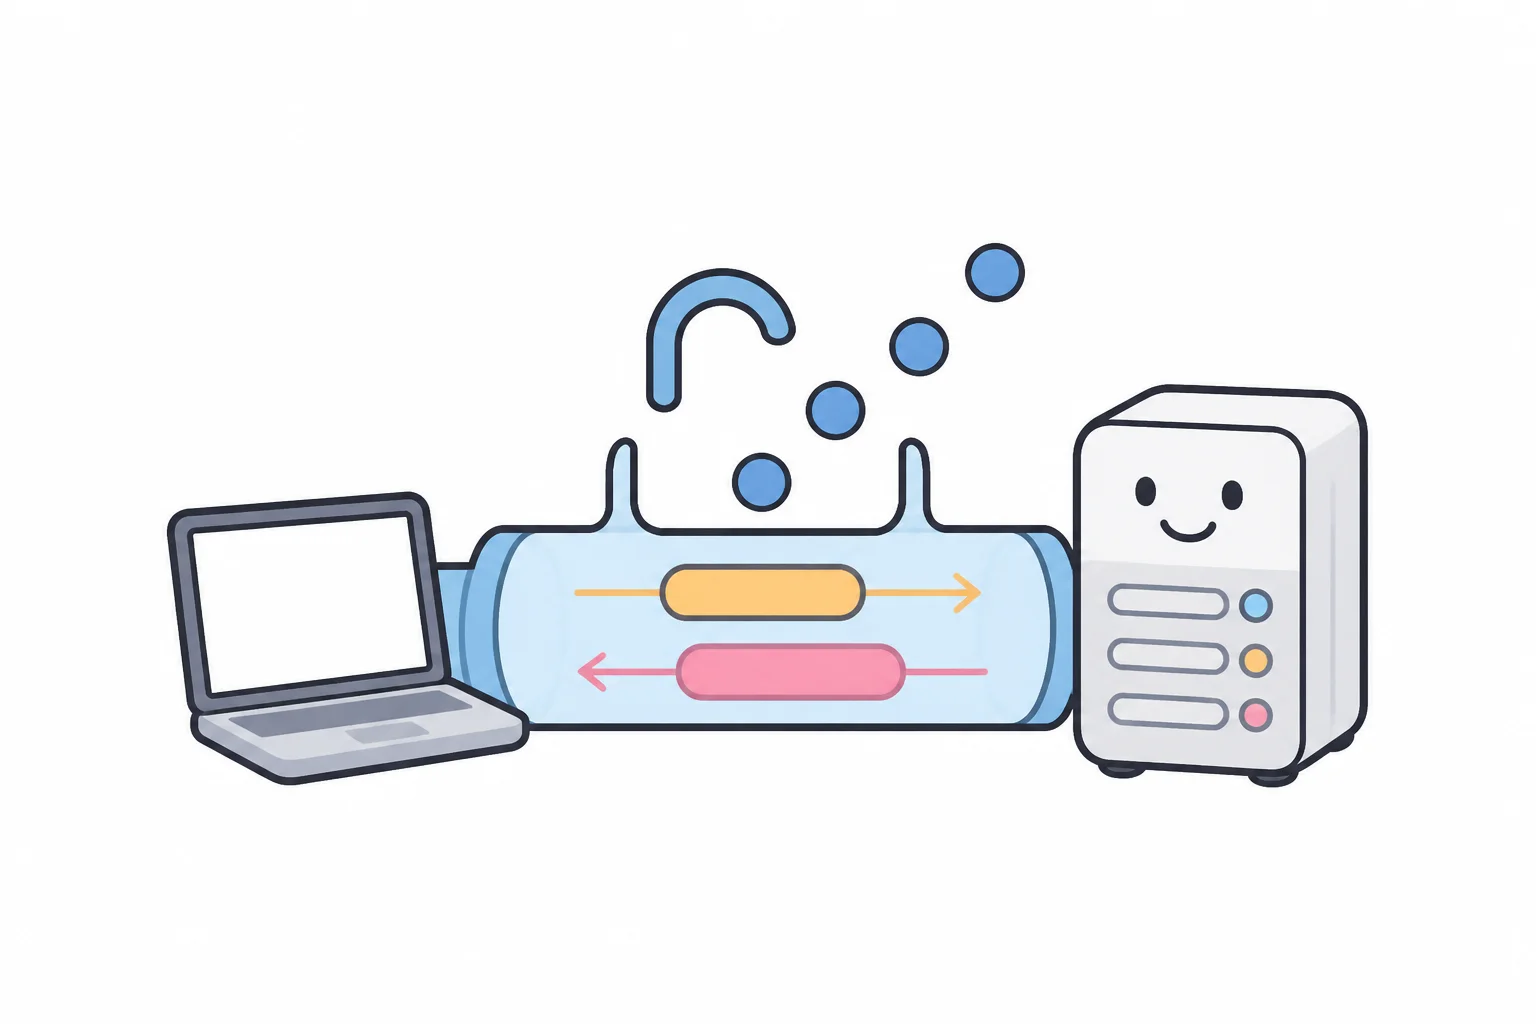
An API (application programming interface) is simply a way for your program to talk to Bybit’s servers directly — the same actions you perform in the app (check a price, place an order, read your balance), but issued by code as HTTPS requests and answered in machine-readable JSON.
The current generation is V5, and its defining feature is unification: one
set of endpoints covers spot, derivatives and options, and you select the
product per request with a category parameter (spot in this guide). This is
worth knowing before you read anything else about the Bybit API, because older
tutorials built on the product-specific APIs that V5 replaced (spot v3, futures
v2) describe endpoints that are now retired.
Two interfaces matter for a first bot:
- REST API (
https://api.bybit.com) — classic request/response. You send one HTTPS request per action. This is where beginners start. - WebSocket streams (
wss://stream.bybit.com) — a persistent connection over which Bybit pushes live prices to you, instead of your code asking again and again. Plan to adopt streams as your bot matures.
Public market data needs no API key at all. This works from any terminal, with no account:
curl -s "https://api.bybit.com/v5/market/tickers?category=spot&symbol=BTCUSDT"Every V5 response — success or failure — arrives in the same envelope, and the
field that tells you what happened is retCode, not the HTTP status:
{"retCode": 0, "retMsg": "OK", "result": { ... }, "time": 1787021635781}retCode: 0 means success; any other value is an error code. Checking
retCode on every response is the single most useful habit for a Bybit bot,
and the error table later in this guide is written in terms of these codes.
On cost: there is no separate charge for API access — orders placed through the API incur the same trading fees as orders placed in the app. On spot that is 0.1% maker / 0.1% taker for regular users. (A maker order rests on the order book; a taker order fills against it.) Worth internalizing early: at 0.1% per side, a full round trip costs about 0.2% before any price movement, and a bot that trades frequently pays that 0.2% again on every round trip. Fee drag is a structural cost of automation, not an afterthought.
Bookmark the official documentation. This guide follows it, and you will need it as a reference once your bot grows beyond the basics.
Creating your Bybit API key, safely
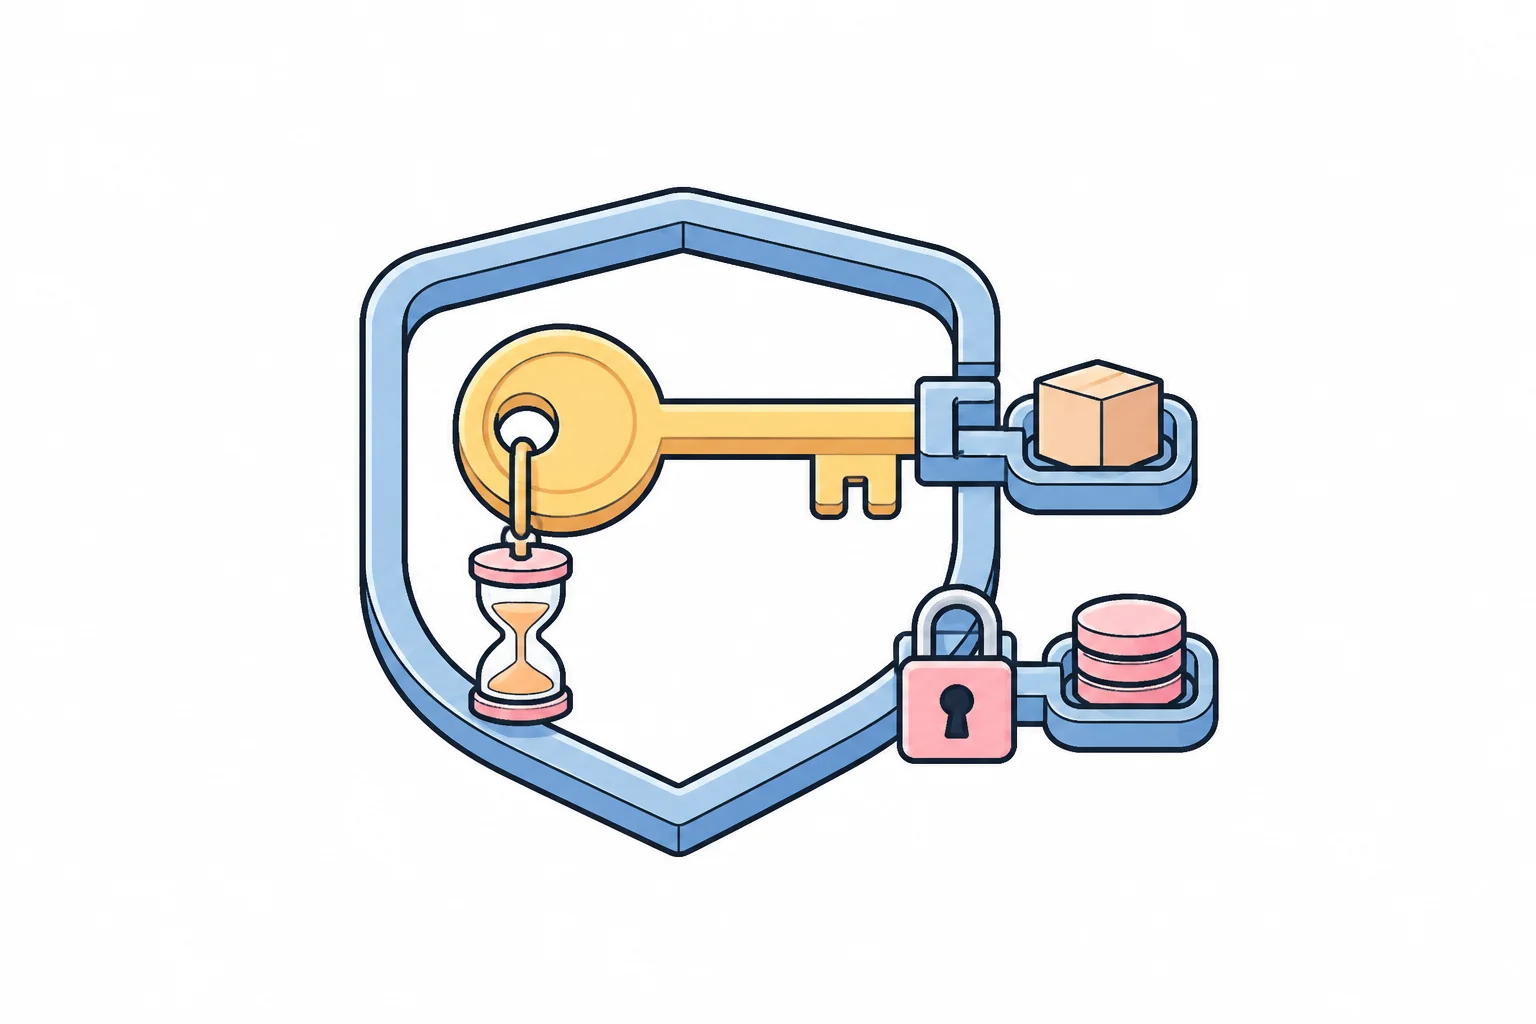
This is the most important step of the setup. An API key is a credential that can trade your funds, so set its permissions carefully before writing any bot code.
First, a fact that surprises mobile-first users: Bybit states that “the creation of an API key can only be done via the Bybit website” — you cannot create one in the mobile app. Log in on the web, click the profile icon, and go to API → API Management → Create New Key. You will confirm the creation with a Google Authenticator code.
Choose the key type deliberately. Bybit offers two: system-generated keys, where Bybit issues both the API key and the secret and requests are signed with HMAC-SHA256 (a hash-based signature computed from your secret), and self-generated keys, where you create an RSA key pair locally and upload only the public key. For a first bot, use a system-generated key — it is the type every tutorial and SDK default assumes, and the code below signs with it.
Set permissions to the minimum. Bybit scopes keys by permission group. For a spot trading bot you need exactly one grant: spot trading, with read-write access. Leave every other permission off — and above all leave withdrawals off. Withdrawal permission is the only one that can move funds out of the exchange, and no trading bot needs it. With withdrawals off, a leaked key can place bad trades inside your account, which is painful; it cannot drain your wallet to an attacker’s address.
Decide about IP restriction — there is a 90-day expiry rule attached to it.
Bybit’s API FAQ states: “An API key created without binding IP address(es)
will expire after 90 days.” This is the classic reason a Bybit bot works
perfectly for three months and then starts failing authentication. Bybit’s
expiry code is 33004; depending on how the key is rejected you may instead
see a bare HTTP 401 with no body, so treat any sudden authentication failure on
a long-running bot as an expiry suspect first. You have three options:
- Bind the key to a fixed IP address — the expiry disappears entirely. This is the right choice when the bot runs on a server or VPS (virtual private server) with a static address.
- Renew every 90 days — re-submitting the key’s IP setting in API Management extends it another 90 days, keeping the same key and secret. Put it in your calendar.
- Do neither, and the key stops working 90 days after you created it — with no warning and no notification. This is the most common way a working Bybit bot stops.
A caveat: IP binding is only practical with a static address. On a home
connection whose IP rotates, a bound key locks you out the day your provider
reassigns the address (error 10010, “Unmatched IP”). In that case run the bot
unbound and manage the 90-day renewal by calendar instead.
Handle the secret like a password. For a system-generated key, the secret is shown once, at creation, and cannot be retrieved later — if you lose it, you delete the key and create a new one. Never hardcode it in your script: keep it in an environment variable or a config file excluded from version control, as the code below does. The full key and permission detail — including the endpoint that reads a key’s actual grants back — is in our Bybit API guide.
Practice first: Bybit testnet or demo trading?

You can build and run your entire first bot without risking any funds. Bybit operates two separate practice environments, and knowing which is which saves real confusion, because their API keys are not interchangeable.
Demo trading — the one this guide recommends. It is a simulated account that lives inside your real Bybit account: hover the profile icon and select Demo Trading; no second registration. Your demo account starts with simulated assets of 50,000 USDT, 50,000 USDC, 1 BTC and 1 ETH, and you can top up from the asset page when you run low. The decisive advantage: demo orders execute against real mainnet prices and liquidity, so fills behave the way they will behave live. Two rules to know: a demo account left untouched for more than 30 days is refreshed and its data cleared, and not every API feature is available in demo — it is a practice surface, not a full replica. Create the demo API key from inside demo trading mode (the same API menu, after switching — so a brand-new account’s 48-hour key-creation restriction can apply here too), and point your code at:
Demo REST: https://api-demo.bybit.comTestnet (testnet.bybit.com) — a completely separate exchange copy with
its own registration (an email address is enough), its own order books, and a
faucet: the assets page issues 10,000 USDT and 1 BTC in test coins, once every
24 hours. Its REST base is https://api-testnet.bybit.com. The catch is
liquidity: testnet order books are thin, so market orders can fail or fill
strangely for reasons that have nothing to do with your code. Test with limit
orders there, and never treat a testnet fill as evidence about a strategy. Use
the testnet when you want practice without opening a Bybit account at all, or
want a sandbox that is fully disposable. Never deposit real funds into a
testnet account — Bybit warns that any such deposit is permanently lost.
Whichever you choose, one rule explains most beginner authentication failures:
Bybit distinguishes four environments — mainnet, testnet, mainnet-demo, and
a testnet-demo combination Bybit itself advises against using — and a key
only works against the host it was created on. Misrouting a key surfaces one
of two ways depending on the endpoint, and neither says “wrong environment” on
its face. Most endpoints answer with a normal JSON envelope carrying
retCode 10003, “API key is invalid” — the documented symptom. A few reject at
the edge instead with HTTP 401 and an empty body — notably the
wallet-balance endpoint, the first signed call most people try — leaving no
retCode to read, so naive code fails with a JSON decode error. On either
symptom, check which environment the key came from before
touching your signing code.
Everything in the next section runs against demo trading.
Placing your first order with Python
The snippets below use plain Python with the requests library, so you can see
exactly what any SDK (software development kit) does under the hood. Install it
first:
pip install requestsWhen you want a higher-level interface later, Bybit’s official Python SDK is
pybit (pip install pybit, Python 3.10+) — maintained by Bybit itself on
the official bybit-exchange GitHub organization. A note on the wider library
landscape: the popular Node.js package bybit-api is labeled a community SDK
in Bybit’s docs — the SDKs Bybit maintains itself are Python, Go, Java and .NET.
Reading a price needs no authentication. You can point this at either host —
api-demo.bybit.com serves the same market data as api.bybit.com. The one
place the distinction matters is WebSocket: demo has no public stream, so live
price streams always come from mainnet wss://stream.bybit.com.
import requests

r = requests.get("https://api.bybit.com/v5/market/tickers",
                 params={"category": "spot", "symbol": "BTCUSDT"})
data = r.json()
print(data["retCode"], data["result"]["list"][0]["lastPrice"])
Anything touching your account is a signed request. Bybit’s scheme puts
everything in headers: your key, a millisecond timestamp, and an HMAC-SHA256
signature over the string timestamp + api_key + recv_window + payload, where
the payload is the query string (for GET) or the JSON body (for POST).
recv_window is the number of milliseconds your request stays valid — 5,000 by
default. Two details in this code prevent the most common signature bug: the
query string and JSON body are built once and the same bytes are both
signed and sent. If you rebuild either separately — even with the same values —
parameter order or spacing can differ, and Bybit rejects the request with error
10004.
import hmac, hashlib, time, os
import requests

BASE = "https://api-demo.bybit.com"     # demo environment — see previous section
KEY = os.environ["BYBIT_DEMO_KEY"]
SECRET = os.environ["BYBIT_DEMO_SECRET"]
RECV_WINDOW = "5000"

def auth_headers(payload: str) -> dict:
    ts = str(int(time.time() * 1000))
    to_sign = ts + KEY + RECV_WINDOW + payload
    sig = hmac.new(SECRET.encode(), to_sign.encode(), hashlib.sha256).hexdigest()
    return {
        "X-BAPI-API-KEY": KEY,
        "X-BAPI-TIMESTAMP": ts,
        "X-BAPI-SIGN": sig,
        "X-BAPI-RECV-WINDOW": RECV_WINDOW,
    }

def signed_get(path: str, params: dict) -> dict:
    query = "&".join(f"{k}={v}" for k, v in params.items())
    r = requests.get(f"{BASE}{path}?{query}", headers=auth_headers(query))
    r.raise_for_status()   # a 401 here means the key was rejected: wrong key, wrong environment, or headers
    return r.json()

balance = signed_get("/v5/account/wallet-balance", {"accountType": "UNIFIED"})
print(balance["retCode"], balance["retMsg"])(accountType=UNIFIED is correct for any account opened in 2025 or later —
Bybit’s Unified Trading Account. Tutorials that pass CONTRACT or SPOT are
written for older account modes you probably don’t have.)
Why first orders get rejected: per-symbol constraints. Before an order
reaches the matching engine, Bybit validates it against per-symbol rules
published at GET /v5/market/instruments-info — no key needed. BTC/USDT’s
values as retrieved on 2026-08-18:
| Constraint | Rule on BTC/USDT | What it rejects |
|---|---|---|
minOrderAmt | order value ≥ 5 USDT | your cautious 1 USDT test order (error 170140) |
basePrecision | quantity in steps of 0.000001 BTC | the unrounded float you got from usdt_amount / price |
tickSize | price in steps of 0.1 USDT | limit prices with more than 1 decimal (error 110003) |
Two warnings about this response. First, it also contains a field called
minOrderQty — ignore it. Bybit’s docs mark it deprecated for spot: the
enforced minimum is minOrderAmt, denominated in the quote currency
(USDT here), and older tutorials that size orders from minOrderQty produce
exactly the rejection they were trying to avoid. Second, these numbers are
per-symbol and change over time — have your bot read them from
instruments-info at runtime rather than hardcoding them from any article,
including this one.
The market-buy quantity trap. On a spot market buy, Bybit reads qty
as an amount of quote currency to spend by default — not an amount of the
coin. qty="0.001" on a BTCUSDT market buy does not request 0.001 BTC; it
requests a 0.001 USDT purchase, which fails against the 5 USDT minimum. The
reverse mistake spends more than intended: qty="1000" meant as “1000 units of
a cheap coin” is read as 1,000 USDT. A marketUnit parameter switches the
interpretation: marketUnit="baseCoin" makes qty an amount of the coin,
marketUnit="quoteCoin" an amount of USDT to spend. Set it explicitly on any
spot market order rather than relying on the default. The worked example below
sidesteps the ambiguity entirely by using a limit order, whose quantity is
always in the base coin.
# continuing in the same file
import json

def signed_post(path: str, body: dict) -> dict:
    payload = json.dumps(body)
    r = requests.post(f"{BASE}{path}", data=payload,
                      headers={**auth_headers(payload),
                               "Content-Type": "application/json"})
    r.raise_for_status()
    return r.json()

order = signed_post("/v5/order/create", {
    "category": "spot",
    "symbol": "BTCUSDT",
    "side": "Buy",
    "orderType": "Limit",
    "qty": "0.0002",            # base coin (BTC); ~12.8 USDT at the time of writing
    "price": "60000",           # a few percent below the live price, so the order rests instead of filling
    "timeInForce": "GTC",       # Good-Till-Canceled: rests until filled or canceled
    "orderLinkId": f"first-bot-{int(time.time())}",
})
print(order["retCode"], order["retMsg"], order["result"])
Note that every numeric value is sent as a string — that is what the API
expects, and it also keeps float formatting from silently violating the
precision rules. orderLinkId is your own ID for the order; you will meet it
again in the next section. If the response comes back with retCode: 0 and an
orderId, the order was accepted and is resting on the book (check it in the
demo UI, then cancel it there or with POST /v5/order/cancel). This is the
same request a production bot sends — only the base URL and the simulated
funds differ. Copy-paste code for every other common operation — market
orders, cancels, balances, deposits, withdrawals, transfers and WebSocket
streams — is collected in our Bybit API guide.
From script to bot: running it unattended

A script becomes a bot when it runs in a loop unattended. Four mechanics keep an unattended process running reliably:
- The loop. Fetch data → decide → (maybe) order → sleep → repeat. Start with a generous interval; a bot that acts once a minute is far easier to debug and stays far away from rate limits.
- Expect disconnection. When you move from REST polling to WebSocket
streams, Bybit’s docs recommend sending a
pingevery 20 seconds to keep the connection alive — and even then, disconnections happen. Reconnect logic is mandatory, not optional; a bot that assumes an eternal connection is the classic bot that “mysteriously stopped working”. - The dangerous retry. If an order request times out, the execution status
is unknown — the order may well have gone through. Blind retries can
double-buy. This is what
orderLinkIdis for: because you named the order yourself, you can query for it and find out what happened. On any ambiguous failure: query open orders and recent executions first, then decide. - Log everything, and give yourself a kill switch. Write every decision and
every response to a log file, and keep a manual way to stop the bot and
cancel open orders immediately (
POST /v5/order/cancel-allexists for exactly this).
The trading logic itself — when to buy and when to sell — is out of scope for this guide. Get the mechanics above working on demo first — infrastructure failures cost money regardless of how good the strategy is, so this layer deserves to be solid before any strategy complexity is added.
Bybit rate limits and common errors

Bybit limits API usage on two independent layers, and a bot can be blocked
by either. The first is per IP address: 600 requests per 5-second window
across all endpoints (older articles quote “120 per minute” — the real budget
is 120 per second). Exceeding it returns HTTP 403, and the ban lifts only
after a wait of at least 10 minutes — the single most expensive error for an
unattended bot. The second layer is per account and per endpoint: on spot,
creating orders is capped at 20 per second, canceling at 20 per second,
balance reads at 50 per second. Exceeding those returns retCode: 10006, “Too
many visits!”. Bybit documents that authenticated responses carry
X-Bapi-Limit-Status headers showing your remaining quota — but note that
public market endpoints do not send these headers, so don’t look for them on
ticker calls.
A first bot polling every few seconds is nowhere near any of these numbers. What actually trips them is a retry loop with no delay — an error handler that immediately re-sends a failing request, hundreds of times per second. Treat a 10006 or 403 as a bug report about your loop, and always retry with a waiting period (and give up after a few attempts).
The errors every beginner meets, in rough order of appearance:
| Error | Meaning | Usual cause & fix |
|---|---|---|
HTTP 401, empty response | key rejected at the edge | wrong key, wrong environment (demo key on mainnet, etc.), or missing headers. Note: there is no JSON body — code that calls .json() unconditionally dies with a decode error that hides the real cause. Check the HTTP status first, as the snippets above do |
HTTP 403 | IP rate limit breached, or a restricted-region IP | slow down and wait at least 10 minutes; if the server sits in a restricted region (a U.S. IP, for example), no retry will fix it |
10003 | API key is invalid | the four-environments rule: the key does not match the host (demo key on mainnet, etc.) — most endpoints answer this way; a few, notably wallet-balance, reject as the empty 401 in row 1 instead |
10004 | signature error | the string you signed isn’t the string you sent — build the payload once, sign and send the same bytes |
10002 | timestamp outside recv_window | your system clock drifts — sync it with NTP (automatic clock synchronization), and compare against GET /v5/market/time (no key needed) |
10005 | permission denied | the key lacks spot trading permission, or was created read-only |
170140 | order value below minimum | order worth less than minOrderAmt — very often the market-buy quantity trap |
170131 | insufficient balance | balance too low — remember fees consume quote currency too |
110017 | quantity truncated to zero | more decimals than basePrecision — round down before sending |
10006 | rate limit exceeded | retry loop without a delay — add backoff |
33004 | API key expired | the 90-day rule from the key section: no IP binding, 90 days elapsed. Bybit lists this code as “(Derivatives) Your api key has expired”; on endpoints that reject at the edge, such as wallet-balance, an expired key can surface as the empty 401 in row 1 instead |
One more constraint worth knowing before you rent a server: Bybit does not
serve every jurisdiction — its restricted list includes the United States,
mainland China, Hong Kong, Singapore, Canada and others — and the restriction
is enforced at the API layer too: Bybit’s own error documentation lists “You
are using U.S IP” as a cause of HTTP 403. A bot running from a restricted
region hits the same wall the app would, with an error that looks nothing like
a region problem. Factor your server’s location in from the start.
Security and risk checklist

Two kinds of risk apply here, and they are different. Market risk comes first: a bot that works perfectly can still lose money, because the strategy itself can be wrong — and automation executes losses at the same speed as gains, with no pause for judgment while it runs unattended. Operational risk — bugs, leaked keys, outages — is what the checklist below addresses. Passing the checklist protects you from the second kind only.
Run down this list before your first live order:
- Withdrawal permission is off on the bot’s key
- The key is IP-bound to the machine that runs the bot — or the 90-day renewal is in your calendar
- The secret lives in an environment variable / untracked config — not in the code, not in a repository
- This key is never pasted into a third-party website or service
- The bot logs every action, and you can stop it and cancel all orders in seconds
- The account holds only what the bot is allowed to lose
- You have decided in advance how much loss makes you stop the bot
If you do use a hosted bot platform instead of your own code, the same rules apply to the key you give it: withdrawals off, and you are trusting that company with trade authority over your account.
The underlying principle is worth stating plainly: an automated order executes without anyone reviewing it, and a logic bug repeats its mistake at machine speed for as long as the loop runs. The permissions on the key are what cap the damage. No bot is profitable by itself. Start on demo trading, keep your first live orders small, and increase size only after the bot has run correctly over time.
Conclusion and next steps
This guide covered the full setup path: the three automation routes on Bybit, creating an API key with minimal permissions and a plan for the 90-day expiry, choosing between demo trading and the testnet, placing a limit order that clears the per-symbol constraints, and running the script as a loop that handles disconnections and ambiguous failures. This is the infrastructure layer of automated trading — the prerequisite for everything a bot does.
Next steps: run everything in this guide on demo trading today. When you go live, keep the first order small — size it the way the constraint section shows, comfortably above the ~5 USDT minimum rather than at it, and place it as a limit order whose quantity you control in base coin. The checklist above clears the operational risks; the market risk is yours to size for. If you still need a Bybit account, our Bybit review covers registration, fees and features in detail. For working code covering every common API operation beyond this first order, see our Bybit API guide.
All API facts verified against official Bybit documentation on 2026-08-17,
with live endpoint values re-checked on 2026-08-18. Rate limits, constraints
and fees change — always confirm current values via
GET /v5/market/instruments-info and the official fee schedule.
Frequently asked questions
Does Bybit have a built-in trading bot?
Yes — Spot Grid, Futures Grid, DCA and more, on the Trading Bot page, with no coding needed. This guide covers the other route: building your own bot with the API.
Is the Bybit API free to use?
There is no separate charge for API access. You pay the same trading fees as manual trading — 0.1% maker and taker on spot for regular users.
Can I create a Bybit API key in the mobile app?
No. Bybit states that API keys can only be created on the website. Create the key in a desktop browser, then run your bot anywhere.
Are trading bots allowed on Bybit?
Automated trading is an officially supported activity: Bybit publishes the V5 API, maintains official SDKs, and runs two practice environments for it. (The terms-of-service clause banning 'robots' concerns scraping website content, not API trading.) Your account and region eligibility rules still apply.
Should I practice on the Bybit testnet or demo trading?
Demo trading runs against real mainnet prices inside your existing account, so fills behave realistically — recommended for a first bot. The testnet is a separate registration with its own faucet, useful if you want a fully disposable account. Keys from one environment do not work in the other.
Are trading bots profitable?
A bot executes a strategy; it does not supply one. Whether it makes money depends entirely on the strategy and how it is operated. Be cautious of any product that claims guaranteed profits.